I'm so excited to share all of the tips and tricks I learned last week at an Illamasqua Master Class I went to with one of my best friends. At the first session, it was just my friend and I so it was great to have one-on-one time with a professional who had amazing tips. Thanks so much to Hannah and Julienne and her sister for being so sweet! (Warning: this is another one of those picture heavy posts but I hope you enjoy!)


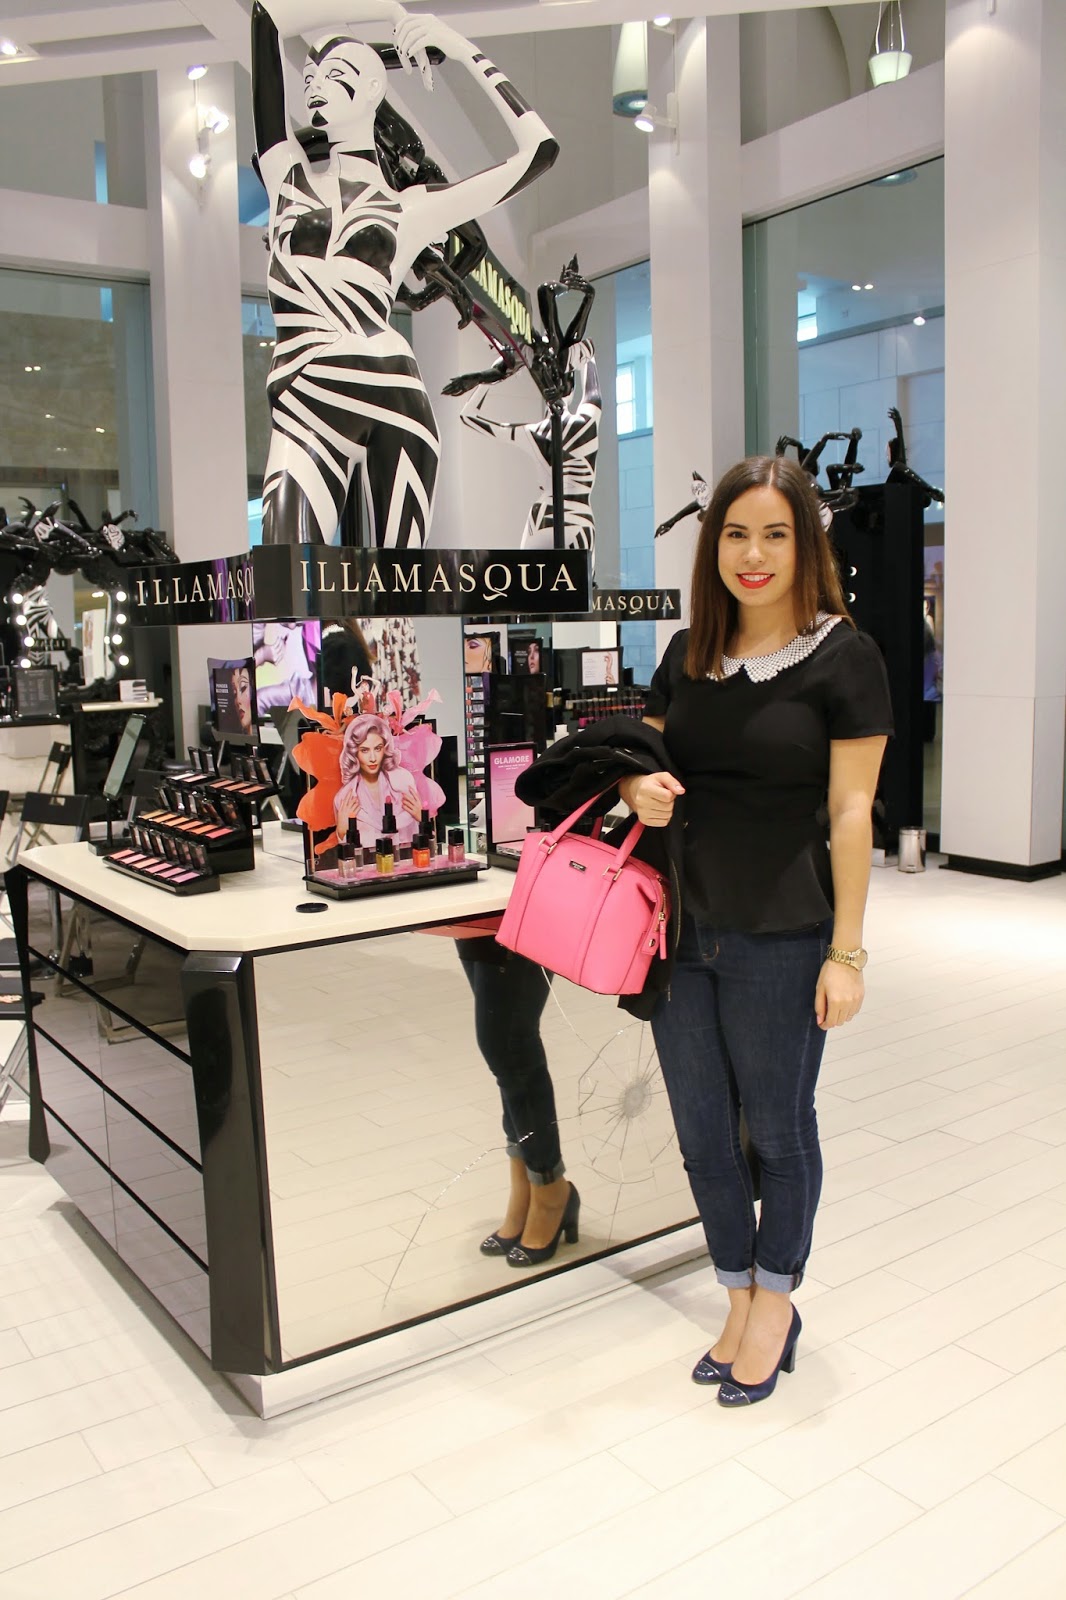
Before the actual tutorial started, I took a look around the counter and of course, everything was catching my eye. Illamasqua is a relatively new brand but it really has taken the world by storm. It got me so excited to finally see things in person. The brand is focused on colour and everything is super fun and bright. That being said, I think there is a lot in their offering that you can use if you want to take a more natural approach, but the option to play around is there and I love it! The blush and nail polishes are amazing and if money wasn't an option, one of each wouldn't be such a bad idea!
Here's what I wore. This black peplum top is from Forever 21 last Summer and the jeans are Old Navy Rockstars. Of course I wore my favourite navy Etta pumps from J.Crew and then I carried my Kate Spade bag for a pop of colour. When it comes to clothes I definitely need to start wearing more colour because my closet looks like an eternal rainbow of shades of black, white and grey!
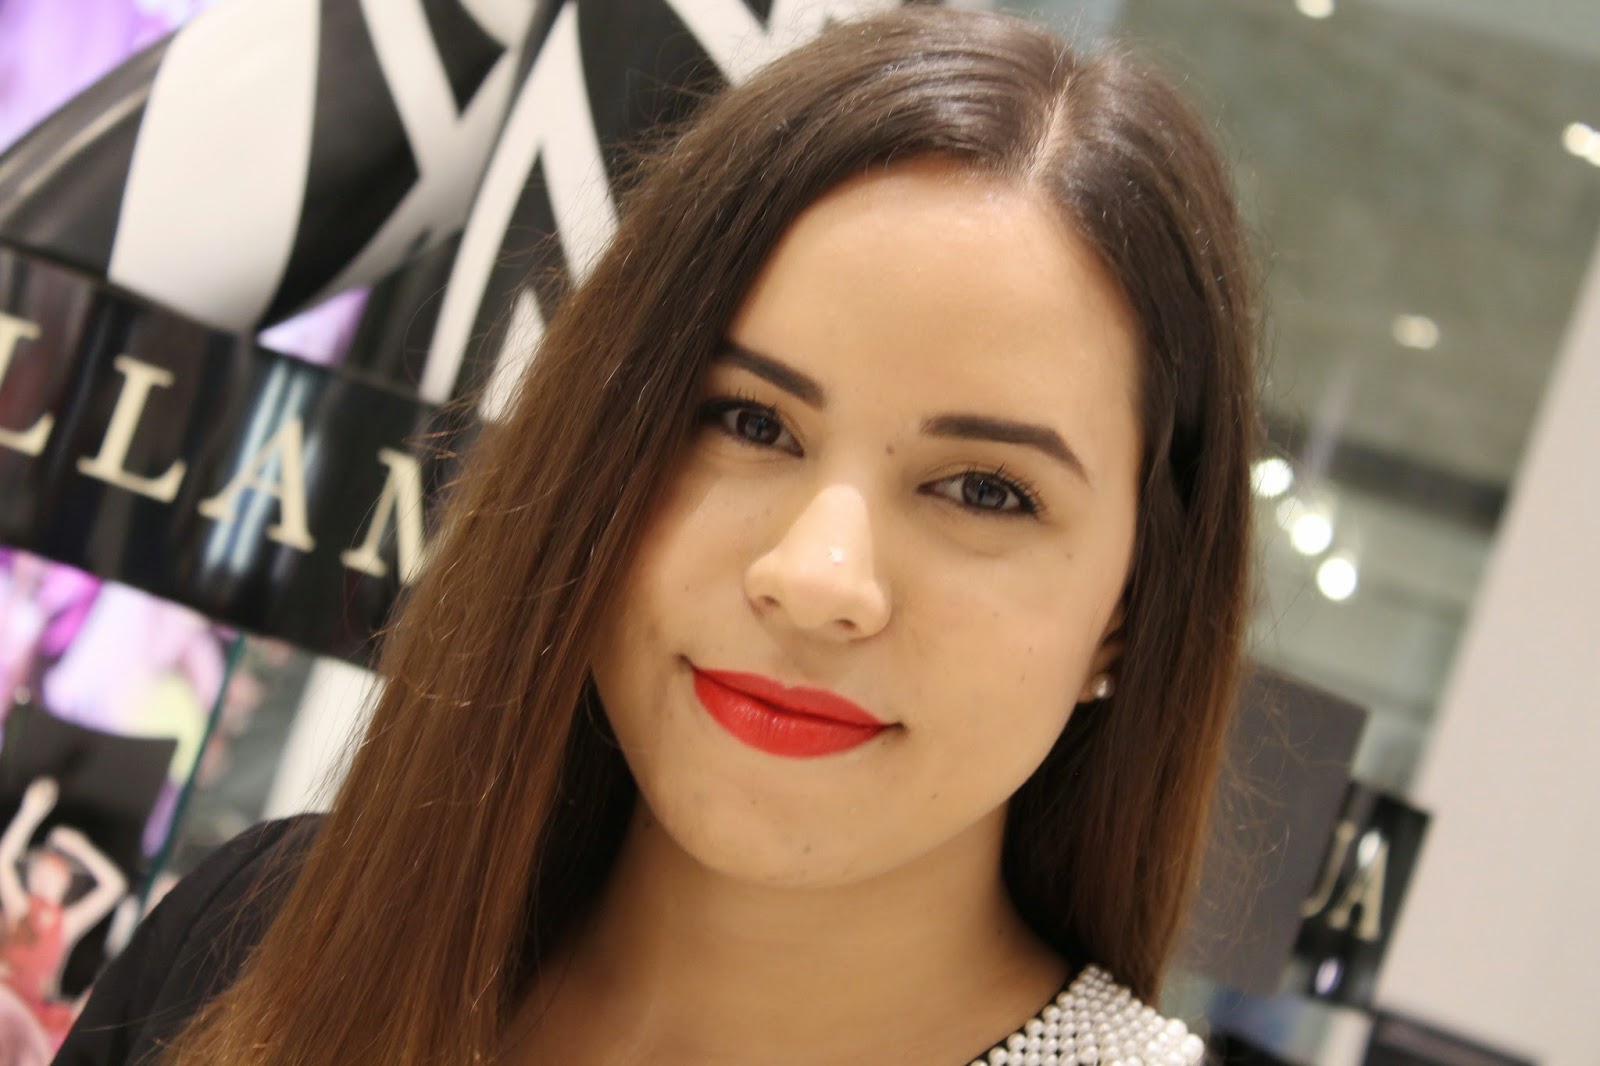
Here's a quick closeup of my makeup! The face is very similar to my day to night post with the exception of Revlon Haute Pink blush instead and CoverGirl Lip Perfection Lipstick in Hot as the statement lip. Word to the wise, this stuff really sticks around so be ready to scrub your lips with a cotton pad and makeup remover when you're taking your makeup off. This is Taylor Swift's favourite red lipstick so of course I needed to have it.
Let me give you a run down of what look Hannah created. The makeup was more for a corporate setting, the kind of thing you'd wear to work, but with a fun winged liner. You could definitely make the wing less severe if you'd like! She created matte, perfected skin with nude lips and a subtle contour and highlight. I wrote like 4 pages of notes so there's a lot to fill you in on.... here goes nothin'!

Hannah started by prepping the skin with the new Matte Veil and applied it to the face with a foundation brush. This stuff is literally so cool! The feeling is like water but once you blend it in and let it set, your skin is perfectly matte and shine-free. This is one product I'll definitely be going back for! She then created flawless skin with the Skin Base Foundation in shade 8. This foundation gives a natural finish while still controlling oil. It's a 3-in-1 product; it has a built in primer, can act as concealer and provides a medium buildable coverage! She actually applied the foundation with the blush brush because it's soft and was easy to use when buffing it in to the areas that needed coverage. She didn't put the foundation all over, instead she used a small amount and buffed it in to areas of redness. It looked incredibly natural! To conceal, Hannah used a peachy toned concealer, the Skin Base Lift in Light 2, with a blending brush and went under the eyes to counteract any darkness. That blending brush really came into good use for a lot of different areas of the face and I think it would be the one both Hannah and I would strongly recommend. (Again, another thing to add to my list!)

Next step was contour and highlight to finish off the base. Hannah used something new that Ilasmasqua came out with which are the Skin Base Mixers. These are four colour corrective, very pigmented creams that you can mix with your Skin Base foundation to meet your needs. There are four shades, but the two that were used were White and Chestnut. Everyone has a specific shade of the Mixer and ratio of the mixer and foundation that best suits them, so definitely talk to an Illamasqua Makeup Artist if you have any questions. In this case, Hannah mixed four small drops of Skin Base foundation with one small dot of White. When mixed, she applied the highlighter shade to the tops of the cheeks, middle of the nose, the cupids bow, chin and forehead. She then took the blush brush and blended it into the skin for a beautiful illuminated look. The best part about using these Mixers is that you get a shade that doesn't deviate from the natural undertones of your skin colour!

To contour, she used the same ratio but mixed the Skin Base foundation with the Mixer in Chestnut. She applied the deeper shade to the jawline, cheekbones sides of the nose, and the top of the forehead and temples with the blending brush (see how useful it is?). This time she blending that out with the contour brush. An alternative to this would be the Cream Pigment in Hollow, or if you prefer a powder, you can use the Sculpting Powder Duo which I wrote an ode to last week! Quick tip: for the nose contour, she used the smoothing brush and applied the contour shade down the sides of the nose. To blend it in she brought the colour down from the sides to create a natural looking shadow.
To finish off the skin, Hannah used the Pressed Powder on a big powder brush and rolled it over the face. This is a great tip so that you aren't wasting product or applying it in swirling motions and therefore moving all the products you put on before! This powder is awesome because it's translucent and you can use it on any skin tone, although it would be advised that darker skinned girls use it sparingly to avoid any ashy tones coming through. For extra brightness under the eye, she mixed Skin Base Lift in White Light and Light 2. This made a huge difference!
 |
| Look at the difference! |
Next step, eyebrows! This part actually has me gasping because Hannah was able to create amazing, full eyebrows that still looked natural! Since the model was a blonde, brows were filled in with the Eyebrow Cake in Motto, which was the perfect shade for her. With the angled brush she started on the bottom of the brow under the arch and started to create a smooth line to define the shape she wanted to create. She then did the same thing on the top, making sure the emphasis was on the arch. A great tip is to mix this brow powder with the Sealing Gel for water resistant brows, but keep in mind that this will darken the shade of the brow colour slightly, so pick your shade accordingly! (Another tip: Mix Sealing Gel with foundation for even more waterproof makeup...) If you struggle with your brows then remember this simple rule, always have the darkest point be at the arch and the lightest near the front. This will give you the most natural looking, gradient effect. For really perfect brows, use a concealer brush in a concealer a shade lighter than your skin tone and go under the brows to outline them and make the line super crisp. This is a great thing to do if you want to hide loose hairs, and who wouldn't want that after not plucking for a few days ;)


Now onto eyes. Hannah used the concealer as an eyeshadow base but she told us that if you use White Light as an eyeshadow base, it's amazing for getting eyeshadows to look 20x more bright and pigmented (see above). The eyes consisted of the shadow in Stealth all over the lid and Heroine in the outer corner. The shade Heroine can be used as a contour, blending for smokey eye looks or a transition colour! To soften the colours and help get rid of any harsh lines, the trusty blending brush saves the day. I told you that brush was the most useful! You can contour in the eye socket with the darker shade all the way into the inner portion of the crease to get that 50s Marilyn Monroe look! Since this was primarily a matte look, and the most emphasis was put on the skin, a shimmering loose pigment in Furore (this is actually the pigment version of Lumos, which is in the Sculpting Duo palette) was only used to highlight the brow bone and the tear duct. This pigment is seriously beautiful and looks incredible if you use it wet and mix it with sealing gel.
For the winged liner Hannah used the Precision Gel Liner on an angled brush and started by making the desired angle first on the outer corner. I'm horrible at winged liner so her tip was to do it step by step. It's much easier to do each step on both eyes and then move on, instead of doing the line on one eye and trying to match it later. That's just a recipe for disaster! After making the outer angle the way you want it to look on both eyes, then go in and make a line across your lash line. Once you get to the end of your lash line, you connect the liner all the way to the line you previously made. She finished off the eyes with a couple of swipes of Masquara in Raven. To clean up the wing, you can go back with the lighter concealer you used to define your brow shape and make your line extra precise.
Last few steps, are you sticking with me? Hannah took Fantasy lip pencil to define the lips. She used the tip of the pencil to outline the lips and then used the side of it to shade in the entire lip. Next, she applied Test lipstick, which is actually being discontinued because the lab lost the pigment used to create the shade (haha), so get this now at your counters if you want it! Their lipsticks are matte and water resistant but for a glossy effect she used Enchant gloss over the lips and finished off the entire look with a bit of Naked Rose blush!
 |
| The finished look! |
After the master class was over, we took a look around and decided on what we were going to be taking home with us. I definitely grabbed the Skin Base foundation (I was matched with shade 8.5) and the Mixers in White and Chestnut. No one needs more foundation but apparently it's one thing I'm always down to try! I knew I'd also have to leave with a blush because that's my latest obsession and I chose the shade Tremble which is the most beautiful peachy pink (anyone surprised by that choice? haha). I loved learning all of these new techniques and seeing the Illamasqua products in action! Don't be surprised when the products I picked up pop up in upcoming posts soon. I hope you learned something and that you may have found some products that catch your eye.
A really huge thank you to the girls at Illamasqua for being super awesome and putting up with our constant picture taking! I had an amazing time!


It all looks amazing! xx
ReplyDeleteAIMEROSE
Thanks for reading and commenting, Rasa!
Delete