Showing posts with label lifestyle. Show all posts

Travel Diary: Quebec City + Montreal

If you follow me on Instagram you will will have seen that I was in Quebec City this past weekend, and even made a quick pitstop in Montreal. I've been wanting to visit these cities for a while now and I had a ton of fun. It's amazing to see how much culture can change within the same country. A few hours drive (which felt like an eternity) and you were hearing people speak in a completely different language... love it! Here are some pictures from the trip and a few things that happened along the way. 

First off, these will all be pictures taken with my phone's camera because silly old me left the DSLR at home. Yeah, not a fun way to start the trip but I must say it all worked out in the end. I was really disappointed when we were already 45 mins away from home and I realized that I hadn't packed it but it taught me something. As much as you plan in life, things can slip through the cracks and we can't always control everything. So, I could either let it put a damper on the whole trip or embrace it and enjoy the experience. (fyi, I chose the latter!)

Day One: Spent the day in the car on the way to Quebec, reading the August issue of Allure which I loved, and listening to music. Just before evening, we had finally made it, checked into the hotel and started walking around Old Quebec to see the city as the sun was setting. I was completely in love from the first moment. Old European influences, colourful doors, tons of cute little restaurants. As close as you'll get to being in Europe within Canada so it was pretty magical! Once the sun had gone down and everything was lit up, oh boy was it even more beautiful. The Chateau Frontenac looked incredible. 


Chateau Frontenac at night!
Overlooking the St.Lawrence River
Day Two: We went to breakfast at Paillard which is a really cute bakery on St. Jean St and then made the drive to see Montmercy Falls and the Basilica of Sainte-Anne-De-Beaupre which was so beautifully decorated in mosaic tiles. Once we came back, we walked around the Petit Champlain area and saw Place Royale then headed to dinner at Cochon Dingue which had some really yummy Steak Frites, my fave. 


Montmercy Manor!

Gelato is always a good idea ;)
Day Three: We left Quebec City and drove to Montreal for a quick stop to see the Old Port and look over the city atop Mont-Royal. By mid afternoon we were headed home.... which took ages because of traffic! All in all, it was a really fun weekend and I would totally recommend going to Quebec. Now, I have to see Quebec City in the wintertime! 

Loving the cobblestone streets!

Overlooking Montreal on Mont-Royal


Hope you enjoyed those pictures! Anywhere interesting you've travelled to this Summer?

post signature

On The Hunt: ZARA Sale

One of the things I love most about my birthday being around this time is that all of the best semi-annual sales re going on, so it's the perfect time to spend some of that birthday money. But even if it's not your birthday, there are some pretty amazing things at a fraction of their original price and the store that is really calling my name is ZARA. I've never been into shopping at ZARA, but oh dear, I went in the other day and basically fell in love with everything my eyes caught a glimpse of. Here are some of my favourite pieces! 

Side note: Insider's tip from a friend who works at ZARA: Go on a Wednesday because they lower their prices every Tuesday (shhhhh, don't tell anyone I told you!)
zara sandals
Clockwise: Red Heels (stunning!) // Leather Sandals // Woven Sandal  // Blue Heels
I have this really weird obsession with high heeled sandals lately and ZARA is literally killing it with these ones! I'm looking to branch out from my usual black heels so these are a little bit more fun! All of them are on sale too, so #score. 

The list of clothes that I'm drooling over is way too long but these are a few of the things that caught my eye. I've been staring at that coat in the ZARA window since like March so hopefully I can buy it on sale - so pretty! And as you can see, I still have to include some black clothing items because, well, black is the new black!

Are you eyeing up anything in the ZARA sale? I'd love to see what you pick up!

Side note: Happy Canada Day to all my fellow igloo livin', maple syrup lovin', poutine eatin' Canadians, eh! ;)

post signature

Currently Loving: SS Print Shop


Today I thought I'd feature one of my favourite bloggers of the moment: Stephanie Sterjovski. Not only is she incredibly stylish and creative, but her prints are perfection! I'd been after them for months and so I finally decided to place an order, seeing as how I convinced my mom that a gallery wall is just what we need to jazz up our empty wall! 

SS Print Shop has tons of gorgeous prints at different price points and there is honestly something for everyone. Whether you want to make a subtle statement in black and white, or you want some fun to jazz up your space, she's got it all. I ordered two prints including one from her #LoveLettersFromGod Collection which I love. It's so great to see people spreading joy and sharing the goodness of God!

Right now is the perfect time to take a look through her site because there are tons of prints on sale, including one that I just bought (pictured above). Plus, she just did a collab with another talented blogger/photographer, Carin Olsson of Paris in Four Months, and the prints they came up with are incredible. The perfect thing to either get you inspired by Paris or bring back fond memories of past trips. 

If you're looking for prints to add a bit of flair to a gallery wall, you definitely need to check out SS Print Shop! 
post signature

The Video: What's In My Bag


Guess what?! A new video is up on my YouTube channel and this time I'm rummaging through my handbag and showing you what's inside. I'm excited to have another video up for y'all and rest assured that I have lots of other ideas for future videos. One of which I filmed but it ended up looking blurry #typical. I hope you enjoy and please subscribe so that you always know when a new video is coming up! Have a fantastic day! 

post signature

Life Lately Through A Camera Lense...

Here's a bit of a life update for you guys! The past few weeks have been really great and now that summer is finally (almost) upon us, I can't wait to plan fun things to do. June is one of my favourite months (December takes the cake because of Christmas!) because it's my birthday month and that makes me really excited. I love being able to celebrate another year of life. Any fun things planned for June and this summer in general?

One of my favourite things lately have been going out with girl friends and just chatting. Whether it's grabbing some lunch (this bruschetta was ah-mazing!) or sitting in a car in a parking lot because it's raining while laughing your heads off, there's nothing quite like having girl time. 

I know, I know, I'm late to this party but I've been meaning to read this book for a whopping 2 years. Last week I stopped by the bookstore and picked this up and read it in one sitting, nonstop. Needless to say, I ugly cried really badly. I sobbed like a baby and then the next day reread through it because I was just that emotional. I definitely need to hustle and go see the movie pronto! 

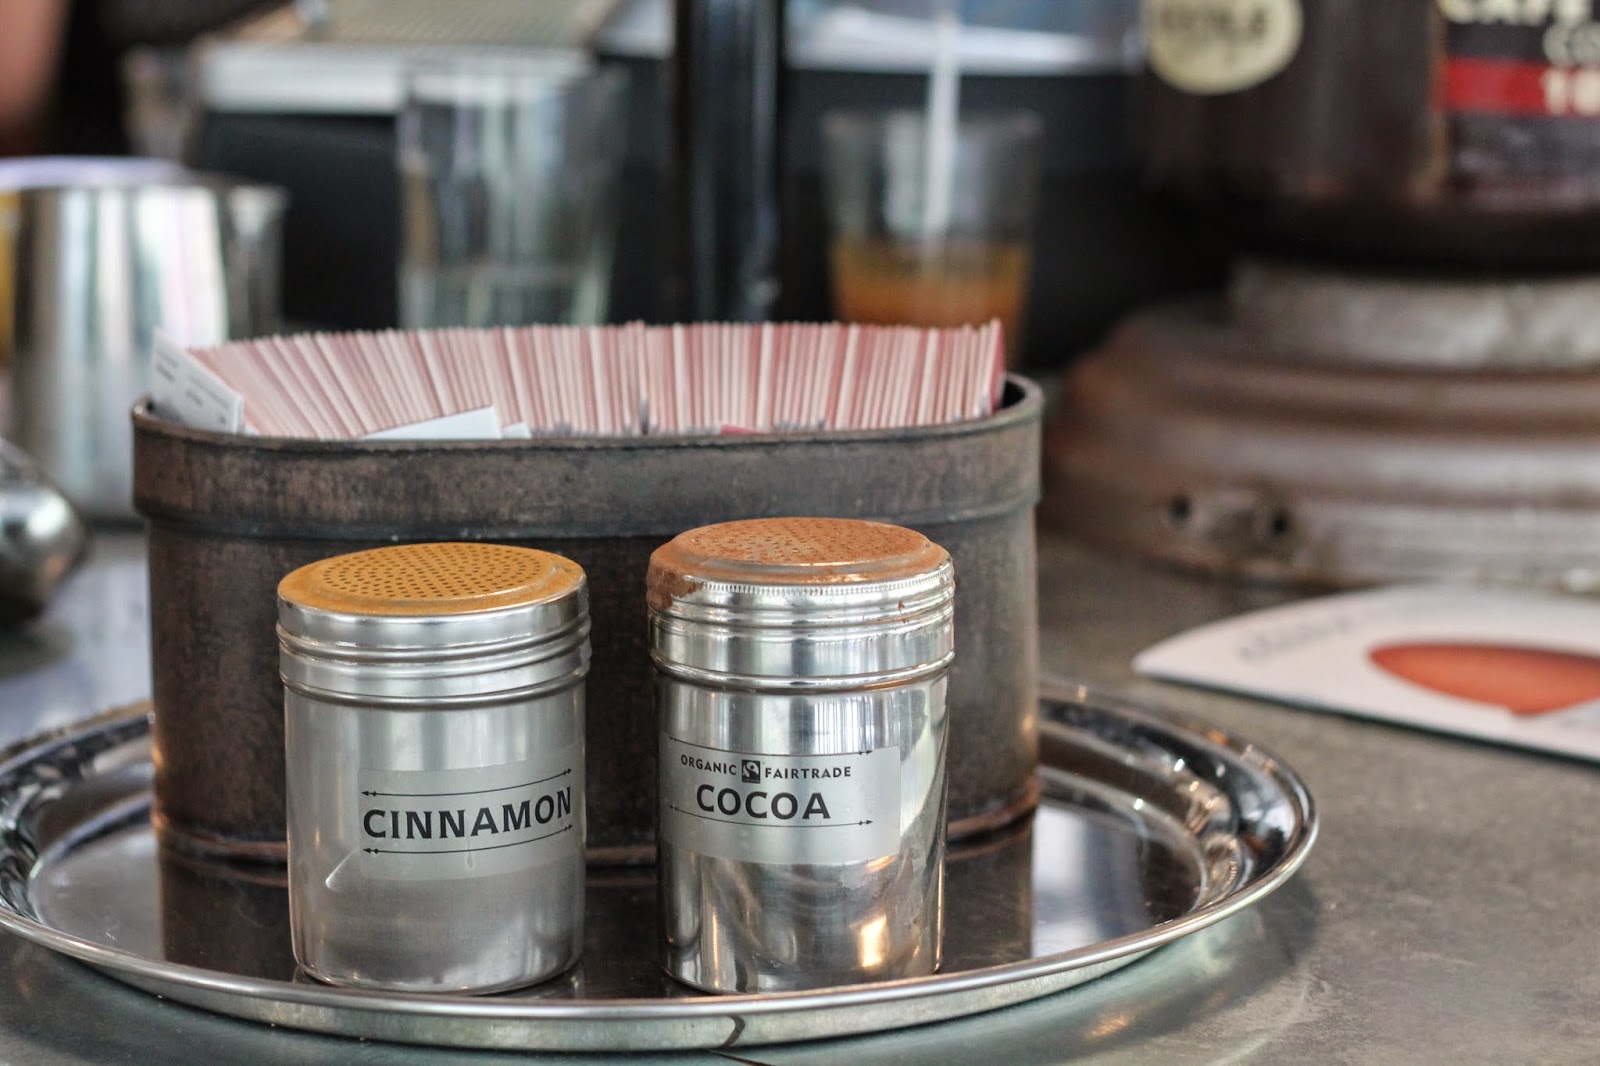
Essentials for a bright sunny day: caffeine, lipstick and sunnies. Nuff said.

I finally pulled out my pastel jeans this past week, which makes me question why I waited this long to put them on again. Although I always have the worst luck with spilling my Starbucks drinks on these (I have two Tide To Go pens to prove this), I'll happily take the risk ;)

Smoothie in a mason jar? Oh, how original! As always, when I'm in a hurry to leave the house but need to have breakfast, a smoothie is just what I opt for. Frozen strawberries, a banana, and a bunch of spinach is all I need to keep me satisfied until lunchtime. But seriously, drinking anything from a mason jar makes it 1000x more cuter, no?

post signature

Motivation Monday #2

via @theeverygirl

I think this week is a great time for me to write another edition of a Motivation Monday post! I've only been doing this whole blogging thing for about 9 months but this week was the first occasion where I kinda felt like I just didn't know what to write. This came as a surprise because I usually have lots of things I want to write about but I fell into a bit of a rut and didn't know where to direct myself.

In life, we deal with moments like these all of the time. Maybe it doesn't always have to do with blogging, but we fall into ruts and routines where we feel stuck. If you're feeling like that in any area of your life, especially with your relationship with Christ, know that this is temporary. There will always be highs and lows but what matters is that you don't start feeling defeated by it all. Sure, things won't always come as easily, but that just makes the journey that much more interesting! 

This week I've been feeling really inclined to pray for newness and freshness in my relationship with Christ. Again, just like with any relationship, you can get into moments where you feel like you aren't progressing or maybe things aren't as exciting anymore. I think we need to actively pursue Christ in new ways. Discover new approaches to drawing near and just enjoy that discovery process! 

"Therefore if anyone is in Christ, the new creation has come: the old has gone, the new is here!"- 2 Corinthians 5:17

I hope the start of your week is nothing short of spectacular! 
post signature

Top 5 Outfits of the Week

I thought today I'd share my 5 favourite outfits I've seen from the past week! As much as I love makeup, I had to give it a rest for a while and go out to replenish my summer style staples so there was definitely a lot of inspiration taken from good ol' Pinterest. Wanna see what I've been loving?

Yellow Perfection //
I've really been on the hunt for the perfect summery, yellow piece! It's not a colour I usually gravitate towards but with a golden glow, yellow is just beautiful. This looks pulls it off effortlessly by mixing in classic black and white and I seriously love it! Plus, the midi skirt is gorg in and of itself. 

Laid Back with a Side of Cheetah //
I love Rachel Parcell from Pink Peonies, but this casual outfit is one of my faves. Rolled up jeans, cheetah clutch (love!) and bright flats - how can you go wrong? A nice orangey red lip and you've taken an otherwise simple outfit to a whole 'notha level!

Light & Airy //
Oh, Kat Tanita, your style is always on point! I love that she takes basic pieces and makes an outfit that still looks fab. As the weather gets warmer, light and airy is the way to go and this is seriously done right. Can I have the whole outfit please?

Minimalist Chic //
Everything about this is so good. I definitely need some boyfriend style jeans now! This is super relaxed but just throw on a pair of amazing pumps and you're good to go (walking all day in them is a different story, but beauty is pain, non?)

Blushing Beauty //
Last, but certainly not least, is this Jessica Alba outfit that had me gasping for air. Man, she is a beaut!  Love the fit of her jeans and that she's wearing blush, yes! Let's not forget to mention those sunnies - totally pulls it all together. I seriously love when people take casual and make it dressed up, best of both worlds, am I right or am I right?

Hope you're having a great start to the month of June (my birthday month!) and that you have a fantastic week! 
post signature

Springtime Adventures!

Last Thursday I took a little adventure with one of my dearest friends to take pictures and do a little exploring around the city! We really had no set plan, we just walked around to see if anything inspired us. At the end of the day, we walked for ages, my feet were killing me, we had breakfast for lunch and we had some awesome girl time! Here are some of the pictures that I snapped along the way. (Warning: if pretty flowers and coffee shops aren't your thing, well then this is awkward.....)

Funny story. So I had the idea to go take pictures in a cafe with one of those fancy lattes. We walked forever trying to find the right place but we ended up in the place we originally planned to go to. While in line to order, I asked the barista "Hi, do you have lattes with latte art in one of those cute bowls?" She tried to conceal her laugh because I actually sounded like such an idiot haha! In the end, the latte art was non existent and they served the latte in what actually seemed like a soup bowl. I really have to get the hang of this fancy coffee deal! 

It was such a fun experience and I think it's something I want to do more often. Call up your friend, go on a spontaneous walking adventure and snap some pictures. You'll have fun, I promise! (And if you get a fancy latte, I hope you can order with a bit more composure ;)


(Obviously staying serious is not one of my strong suits!)


Yay for an awesome girls day with plenty of laughs and memories to last us a long while! 

post signature

In Rotation: Spring Makeup Essentials & Acrylic Storage

Once you accumulate enough makeup to support your face for a good 5 years without having to buy anything new, it's time to buckle down and get to organizing because there's no way that much makeup can fit into a small cosmetics bag. If you've seen makeup organization tips from lots of beauty bloggers and YouTubers, you'll probably notice that Muji storage usually comes up! You know, the acrylic cases stacked up a mile high on top of each other? Well, I'm still on the hunt for a full set of drawers but I thought it would be good to get an acrylic mini case that would hold my daily essentials and I could access easily. So last night I went to Home Sense and found a gem for $12 - not Muji, but it's super sturdy and well made. Its perfect for holding my must have, can't live without products each season and allows me to rotate them as desired. 

So here's a look at what's in rotation for Spring!


Foundations of choice: Chanel Perfection Lumiere Velvet in B30 & Illamasqua Skin Base in 8.5

I have a few there foundations but these are my newest acquisitions so I favour them over the rest! I've been loving the Chanel for lazy days because it feels so light but controls the oils, and the Illamasqua offering if perfect for when I want a more flawless base! 

Feelin' Cheeky: Illamasqua Blush in Tremble, Tarte Amazonian Clay Blush in Tipsy, NARS Laguna Bronzer

I literally can't put these two down! You know me, when something is peachy pink, I can't resist! It's like they have a special pull that grabs a hold of me haha! Thankfully, they are different enough that I could justify having them both. These are the perfect Spring shades. When I'm feeling a little pale or my foundation is starting to get a little light, NARS Laguna is a must have! A generous sweep of this on the face gives a super healthy, pretty glow to the complexion.

Holy Grail Staples: Benefit The POREfessional, Clarins Instant Light Natural Lip Perfector in 05, NARS Radiant Creamy Concealer in Custard, Hourglass Arch Sculpting Pencil in Dark Brunette, L'Oreal Telescopic Carbon Black

These products are things I will probably always have on hand! Apart from the Benefit primer, I have either purchased each one more than once or just love them above anything else I've tried (primers are just an iffy thing for me, but this one is my current fave!) I'm glad I have these on hand now because they really are all I grab when getting ready quickly. 

Lip Products Galore: MAC lipsticks in Creme d'Nude, Peach Blossom and Morange, Topshop in Ooh La La, YSL Rouge Volupte Shine in 15, L'Oreal Extraordinaire in Rose Symphony, NYX Butter Gloss in Maple Blondie and Apple Strudel, Covergirl Lipstick in 305 Hot, Maybelline Vivid in Vivid Rose, Maybelline Color Elixir in Rose Redefined, Revlon Matte Balm in Unapologetic

You already know it, I hoard lipsticks and lip glosses. Yup, guilty as charged. I have a lot of pinks and corals and some brighter shades mixed in for when I want a pop of colour, which is apparently very often lately! Can I call these all my fave?

What are your current Spring staples? Do you have acrylic storage for your daily essentials that you can't live without?
post signature

Illamasqua Master Class + OOTD

I'm so excited to share all of the tips and tricks I learned last week at an Illamasqua Master Class I went to with one of my best friends. At the first session, it was just my friend and I so it was great to have one-on-one time with a professional who had amazing tips. Thanks so much to Hannah and Julienne and her sister for being so sweet! (Warning: this is another one of those picture heavy posts but I hope you enjoy!)

Before the actual tutorial started, I took a look around the counter and of course, everything was catching my eye. Illamasqua is a relatively new brand but it really has taken the world by storm. It got me so excited to finally see things in person. The brand is focused on colour and everything is super fun and bright. That being said, I think there is a lot in their offering that you can use if you want to take a more natural approach, but the option to play around is there and I love it! The blush and nail polishes are amazing and if money wasn't an option, one of each wouldn't be such a bad idea!

Here's what I wore. This black peplum top is from Forever 21 last Summer and the jeans are Old Navy Rockstars. Of course I wore my favourite navy Etta pumps from J.Crew and then I carried my Kate Spade bag for a pop of colour. When it comes to clothes I definitely need to start wearing more colour because my closet looks like an eternal rainbow of shades of black, white and grey!

Here's a quick closeup of my makeup! The face is very similar to my day to night post with the exception of Revlon Haute Pink blush instead and CoverGirl Lip Perfection Lipstick in Hot as the statement lip. Word to the wise, this stuff really sticks around so be ready to scrub your lips with a cotton pad and makeup remover when you're taking your makeup off. This is Taylor Swift's favourite red lipstick so of course I needed to have it. 

Let me give you a run down of what look Hannah created. The makeup was more for a corporate setting, the kind of thing you'd wear to work, but with a fun winged liner. You could definitely make the wing less severe if you'd like! She created matte, perfected skin with nude lips and a subtle contour and highlight. I wrote like 4 pages of notes so there's a lot to fill you in on.... here goes nothin'!

Hannah started by prepping the skin with the new Matte Veil and applied it to the face with a foundation brush. This stuff is literally so cool! The feeling is like water but once you blend it in and let it set, your skin is perfectly matte and shine-free. This is one product I'll definitely be going back for! She then created flawless skin with the Skin Base Foundation in shade 8. This foundation gives a natural finish while still controlling oil. It's a 3-in-1 product; it has a built in primer, can act as concealer and provides a medium buildable coverage! She actually applied the foundation with the blush brush because it's soft and was easy to use when buffing it in to the areas that needed coverage. She didn't put the foundation all over, instead she used a small amount and buffed it in to areas of redness. It looked incredibly natural! To conceal, Hannah used a peachy toned concealer, the Skin Base Lift in Light 2, with a blending brush and went under the eyes to counteract any darkness. That blending brush really came into good use for a lot of different areas of the face and I think it would be the one both Hannah and I would strongly recommend. (Again, another thing to add to my list!) 

Next step was contour and highlight to finish off the base. Hannah used something new that Ilasmasqua came out with which are the Skin Base Mixers. These are four colour corrective, very pigmented creams that you can mix with your Skin Base foundation to meet your needs. There are four shades, but the two that were used were White and Chestnut. Everyone has a specific shade of the Mixer and ratio of the mixer and foundation that best suits them, so definitely talk to an Illamasqua Makeup Artist if you have any questions. In this case, Hannah mixed four small drops of Skin Base foundation with one small dot of White. When mixed, she applied the highlighter shade to the tops of the cheeks, middle of the nose, the cupids bow, chin and forehead. She then took the blush brush and blended it into the skin for a beautiful illuminated look. The best part about using these Mixers is that you get a shade that doesn't deviate from the natural undertones of your skin colour!

To contour, she used the same ratio but mixed the Skin Base foundation with the Mixer in Chestnut. She applied the deeper shade to the jawline, cheekbones sides of the nose, and the top of the forehead and temples with the blending brush (see how useful it is?). This time she blending that out with the contour brush. An alternative to this would be the Cream Pigment in Hollow, or if you prefer a powder, you can use the Sculpting Powder Duo which I wrote an ode to last week! Quick tip: for the nose contour, she used the smoothing brush and applied the contour shade down the sides of the nose. To blend it in she brought the colour down from the sides to create a natural looking shadow. 

To finish off the skin, Hannah used the Pressed Powder on a big powder brush and rolled it over the face. This is a great tip so that you aren't wasting product or applying it in swirling motions and therefore moving all the products you put on before! This powder is awesome because it's translucent and you can use it on any skin tone, although it would be advised that darker skinned girls use it sparingly to avoid any ashy tones coming through. For extra brightness under the eye, she mixed Skin Base Lift in White Light and Light 2. This made a huge difference! 

Look at the difference! 
Next step, eyebrows! This part actually has me gasping because Hannah was able to create amazing, full eyebrows that still looked natural! Since the model was a blonde, brows were filled in with the Eyebrow Cake in Motto, which was the perfect shade for her. With the angled brush she started on the bottom of the brow under the arch and started to create a smooth line to define the shape she wanted to create. She then did the same thing on the top, making sure the emphasis was on the arch. A great tip is to mix this brow powder with the Sealing Gel for water resistant brows, but keep in mind that this will darken the shade of the brow colour slightly, so pick your shade accordingly! (Another tip: Mix Sealing Gel with foundation for even more waterproof makeup...) If you struggle with your brows then remember this simple rule, always have the darkest point be at the arch and the lightest near the front. This will give you the most natural looking, gradient effect. For really perfect brows, use a concealer brush in a concealer a shade lighter than your skin tone and go under the brows to outline them and make the line super crisp. This is a great thing to do if you want to hide loose hairs, and who wouldn't want that after not plucking for a few days ;)

Now onto eyes. Hannah used the concealer as an eyeshadow base but she told us that if you use White Light as an eyeshadow base, it's amazing for getting eyeshadows to look 20x more bright and pigmented (see above). The eyes consisted of the shadow in Stealth all over the lid and Heroine in the outer corner. The shade Heroine can be used as a contour, blending for smokey eye looks or a transition colour! To soften the colours and help get rid of any harsh lines, the trusty blending brush saves the day. I told you that brush was the most useful! You can contour in the eye socket with the darker shade all the way into the inner portion of the crease to get that 50s Marilyn Monroe look! Since this was primarily a matte look, and the most emphasis was put on the skin, a shimmering loose pigment in Furore (this is actually the pigment version of Lumos, which is in the Sculpting Duo palette) was only used to highlight the brow bone and the tear duct. This pigment is seriously beautiful and looks incredible if you use it wet and mix it with sealing gel. 

For the winged liner Hannah used the Precision Gel Liner on an angled brush and started by making the desired angle first on the outer corner. I'm horrible at winged liner so her tip was to do it step by step. It's much easier to do each step on both eyes and then move on, instead of doing the line on one eye and trying to match it later. That's just a recipe for disaster! After making the outer angle the way you want it to look on both eyes, then go in and make a line across your lash line. Once you get to the end of your lash line, you connect the liner all the way to the line you previously made. She finished off the eyes with a couple of swipes of Masquara in Raven. To clean up the wing, you can go back with the lighter concealer you used to define your brow shape and make your line extra precise. 

Last few steps, are you sticking with me? Hannah took Fantasy lip pencil to define the lips. She used the tip of the pencil to outline the lips and then used the side of it to shade in the entire lip. Next, she applied Test lipstick, which is actually being discontinued because the lab lost the pigment used to create the shade (haha), so get this now at your counters if you want it! Their lipsticks are matte and water resistant but for a glossy effect she used Enchant gloss over the lips and finished off the entire look with a bit of Naked Rose blush

The finished look!
After the master class was over, we took a look around and decided on what we were going to be taking home with us. I definitely grabbed the Skin Base foundation (I was matched with shade 8.5) and the Mixers in White and Chestnut. No one needs more foundation but apparently it's one thing I'm always down to try! I knew I'd also have to leave with a blush because that's my latest obsession and I chose the shade Tremble which is the most beautiful peachy pink (anyone surprised by that choice? haha). I loved learning all of these new techniques and seeing the Illamasqua products in action! Don't be surprised when the products I picked up pop up in upcoming posts soon. I hope you learned something and that you may have found some products that catch your eye. 

A really huge thank you to the girls at Illamasqua for being super awesome and putting up with our constant picture taking! I had an amazing time! 

post signature
Blog Content. © Glorious Peonies | A Lifestyle And Beauty Blog . Blog Template All rights reserved. © Maira Gall.